
We all know that Wordpress is a free and open source Content Management System (CMS), based on PHP and MySQL. It is the most easiest tool to create a Blog or a Website.
Today, I am going to show you how to manually configure your wordpress with xampp web server. Before we begin, make sure that xampp web server should be install on your Windows OS.
1. Goto https://wordpress.org/download/ and click on download button to download latest version of wordpress.
 |
| Click to zoom this image |
2. Once downloaded, extract wordpress.
 |
| Click to zoom this image |
3. Place the wordpress folder to htdocs folder of xampp.
 |
| Click to zoom this image |
4. Click on START (Windows Logo) and then click to start xampp control panel.
 |
| Click to zoom this image |
5. Start Apache and MySQL services and then, click on Admin button. If you got an error that Apache won't start, then please check my post Fix Apache error in xampp.
 |
| Click to zoom this image |
6. On phpMyAdmin window, click on Database and then type database name of your choice. And then, click on Create.
 |
| Click to zoom this image |
 |
| Click to zoom this image |
7. Now, open a new web browser tab and type localhost/wordpress. It will open wb-admin config window. Click on Continue button below to goto the next page.
 |
| Click to zoom this image |
8. Please read info on this page and click on Let's go!
 |
| Click to zoom this image |
9. Type Database Name, Username and Password database connection detail and click on Submit. Please take a note of this info in a diary for future reference.
 |
| Click to zoom this image |
10. Click Run the install button to continue.
 |
| Click to zoom this image |
11. Please type Site Title (The Title of your local website/ blog name), Username, Password and Your Email info and then click on Install Wordpress button.
 |
| Click to zoom this image |
12. Type Username or Email Address and Password to login to your local Website/ Blog and click on Log in button.
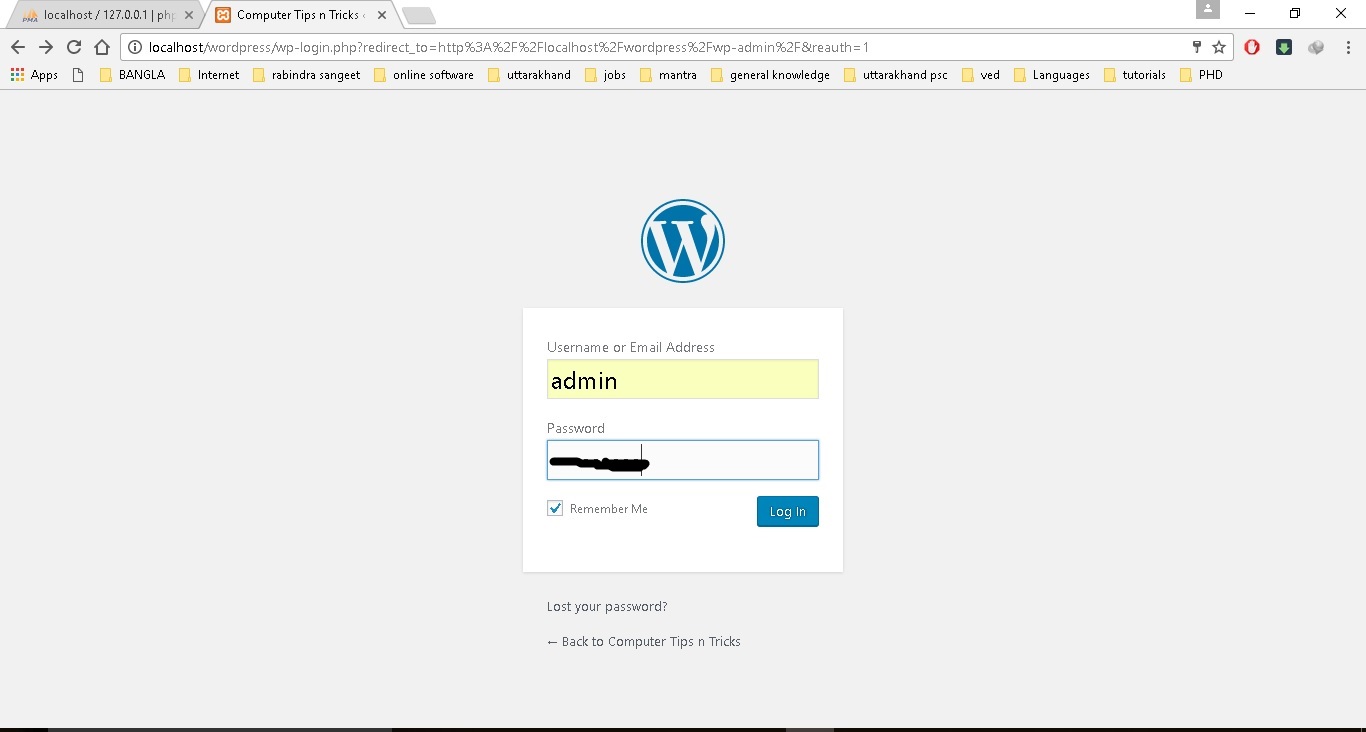 |
| Click to zoom this image |
13. This is wp-admin Dashboard, where you can configure your wordpress settings. Click sitename on your website/ blog (above) to view.
 |
| Click to zoom this image |
14. Here's how you see the skeleton of your Website/ Blog.
 |
| Click to zoom this image |
Comments
Post a Comment