Ubuntu Server- A brief introduction:
Ubuntu Server is based on
Debian Linux Operating System for
personal computers,
tablets and
smartphones. Like
Ubuntu Desktop Edition,
Ubuntu Server uses the same APT (
Advanced Package Tool) repositories. The Advanced Package Tool, is a free software user interface that works with core libraries to handle the installation and removal of software on the Debian, Slackware and other Linux distributions. The differences between
Ubuntu Desktop and
Ubuntu Server is the absence of an X Window environment in a default installation of the server edition and some alterations to the installation process. The server edition uses a screen-mode, character-based interface for the installation, instead of a graphical installation process. This enables installation on machines with a serial or "dumb terminal" interface without graphics support.
Today I am going to show you how to install
Ubuntu Server on VMware Workstation 12. Before we begin, please check my post: Installing
VMware Workstation Pro in Windows for pre-requisite. Let's start.
1. Open VMware Workstation 12 Pro and click on
'Create a New Virtual Machine'.
 |
| Click to zoom this Image |
2. Once you click on 'Create a New Virtual Machine', New Virtual Machine Wizard will pop up where it will ask you to select the type of configuration for
Ubuntu Server. I chose
Typical (recommended).
 |
| Click to zoom this Image |
3. On the next window, it will ask you how to install
Ubuntu Server on your virtual machine. There are three options. (i) If your
Ubuntu Server comes with a CD, then insert the disk on your computer and select
Installer Disc. (ii) If you have downloaded
Ubuntu Server, as iso, on your hard drive then choose
Installer disc image file (iso) to locate iso file. (iii) Else, choose
I will choose to install operating system later after you configure your virtual machine.
 |
| Click to zoom this Image |
4. This is a pop-up window where you can give information to install
Ubuntu Server on VMware Workstation.
 |
| Click to zoom this Image |
5. Now give the name of Guest Operating as per your choice. As I am installing
Ubuntu Server on virtual machine, so I gave the same name. Now choose the location, where you want to install
Ubuntu Server. I created
Ubuntu Server folder in D drive, however you can leave the default location as it is.
 |
| Click to zoom this Image |
6.
Virtual machine's virtual disk (.vmdk) file has it own compress format which is much higher than Hard Disk size. Depending on the size of your Hard Disk partition please mention virtual disk size. I created 200 GB virtual drive for my
Ubuntu Server installation.
 |
| Click to zoom this Image |
7. This is the configuring setting window where you can see the default setting of virtual machine. However, you can customize this setting by clicking on
Customize Hardware. Once you are done, please click on
Finish button.
 |
| Click to zoom this Image |
8. Once you click on Finish, Welcome screen of VMware installation wizard pops up.
 |
| Click to zoom this Image |
9. VMware will load necessary information from begin installation of Ubuntu Linux.
 |
| Click to zoom this Image |
10. Detecting virtual hardware for detecting CD-ROM drive.
 |
| Click to zoom this Image |
12. Scanning CD-ROM or checking iso file.
 |
| Click to zoom this Image |
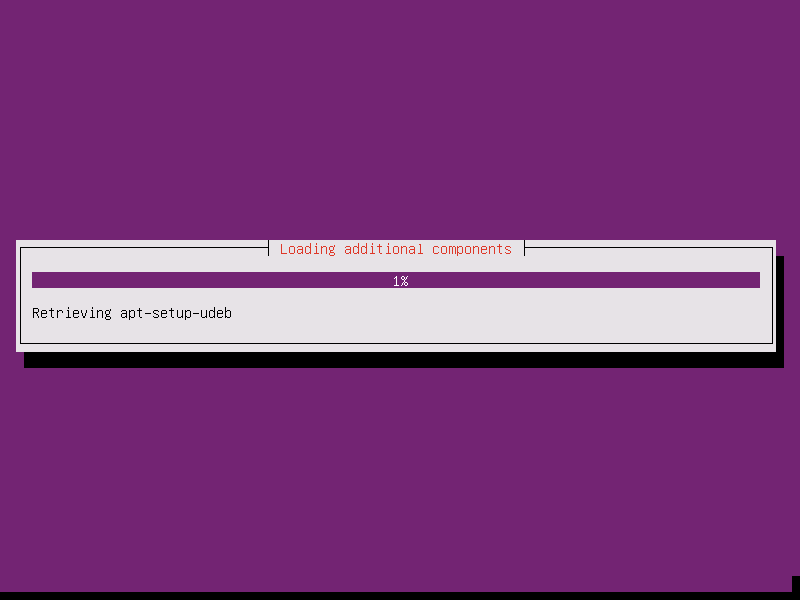
13. Loading additional components.
 |
| Click to zoom this Image |
14. Configuring logical address (ipv4/ ipv6 address).
 |
| Click to zoom this Image |
 |
| Click to zoom this Image |
15. Mapping network address with DHCP.
 |
| Click to zoom this Image |
16. Setting up the clock.
 |
| Click to zoom this Image |
17. Detecting disk and other hardware components where Ubuntu Server is going to install.
 |
| Click to zoom this Image |
18. Creating Partition, i.e.: root, ext4 and swap partition (by default). VMware will auto-partition to install Ubuntu Server. However, when you will try to install Ubuntu Server on a hard drive, then either you can select auto-partition or else you can do a manual partition to install Ubuntu Server.
 |
| Click to zoom this Image |
 |
| Click to zoom this Image |
19. Once Partition of virtual hard drive is over, it will format virtual drive.
 |
| Click to zoom this Image |
20. After formatting, it will install the base system on virtual drive.
 |
| Click to zoom this Image |
21. Configuring APT.
 |
| Click to zoom this Image |
22. Once APT is configured properly, it will try to install basic software for Ubuntu Server.
 |
| Click to zoom this Image |
23. Grub Boot Loader will going to install, once the necessary softwares for Ubuntu Server are installed on virtual drive.
 |
| Click to zoom this Image |
24. Finishing the Installation process.
 |
| Click to zoom this Image |
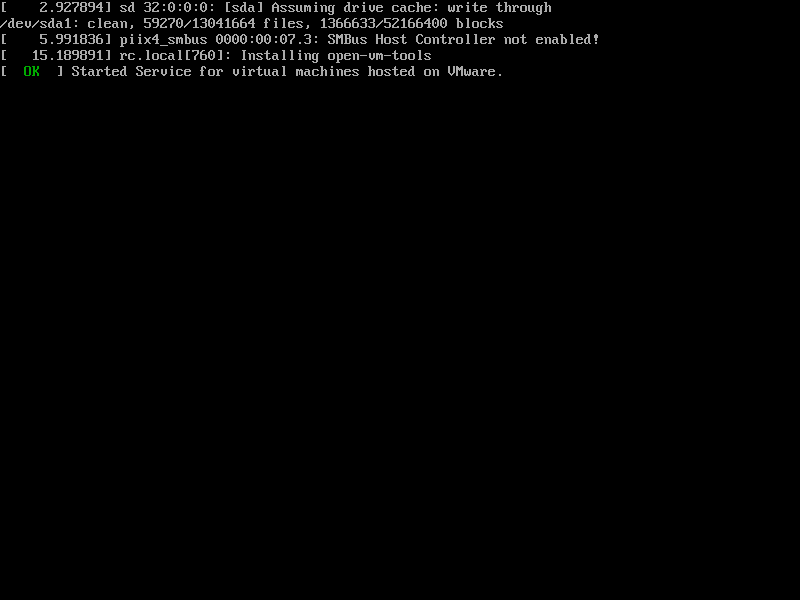
25. Booting up process for Ubuntu Server.
 |
| Click to zoom this Image |
 |
| Click to zoom this Image |
26. Enter login credentials to login to Ubuntu Server.
 |
| Click to zoom this Image |
 |
| Click to zoom this Image |


Comments
Post a Comment